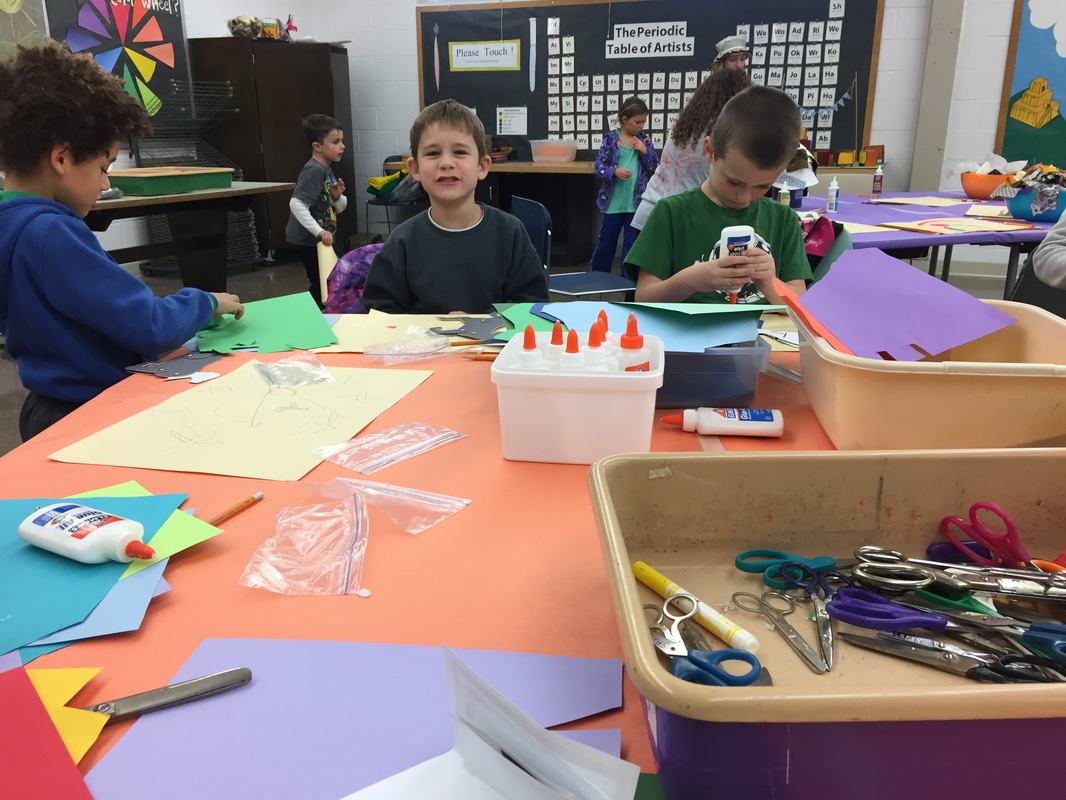
Oxford Saturday Art WorkshopI volunteered for two Saturday Art Workshops in Oxford. Both times, the first and second grade students and I traveled to different continents, exploring ancient civilization's art and culture.
For my first time, the workshop covered the Mayan and Aztec ancient civilizations. Emily, the senior Art Education major was very organized and prepared for the students. To start the workshop, the students walked through the time machine, and Emily led the students through a history lesson of the civilizations. Then, she demoed all three art projects that the students would complete that day. The three projects included making birds, printmaking, and jewelry making. The birds were made out of construction paper, feathers, and wire. The printmaking was made with paint, aluminum foil, and cardstock. The jewelry was made with yarn and various kinds of beads. Though the kids were extremely excited to have three projects to work on, they were not capable of comprehending all three demos at one time. All three demos at one time and not having stations created some chaos in the room. I think having students work on the first project, completing it, and then demoing the next project would have been a better structure, or having stations would have made the workshop more manageable in terms of student comprehension and organization of resources aka not everything on the floor. For my second time, the workshop, the workshop covered the Malaysian ancient civilization. Again, Emily was very organized and prepared for the students. To start the workshop, the students walked through the time machine, and Emily led the students through a history lesson of the civilization. Then, the students were assigned a group based on where they were seated. Then, she demoed all three art projects that the students would complete that day. The three projects included making horses, landscapes, and hats. The horses were pieced together and decorated with either warm or cool colors. The landscapes were designed with cutting nature objects out of felt. The hats were decorated random, assorted pieces of fabric. Grouping the students into three stations made the classroom very manageable. Emily and I were able to walk around helping students, while the resources were contained at each station. It was smart to have the horse body parts pre-cut, the landscape backgrounds pre-made, and the hats pre-labeled with student names. Overall, the workshop was very well run! I REALLY enjoyed getting to know and interacting through art with the first and second graders. I was very hands-on with the children, helping them with their projects but also teaching them different techniques that would make their projects easier or better in some way. I have worked in elementary classrooms for years, but I do look at some aspects of the teaching process differently as a result of this class. I truly love working with kids! |
|
Lampworking
|
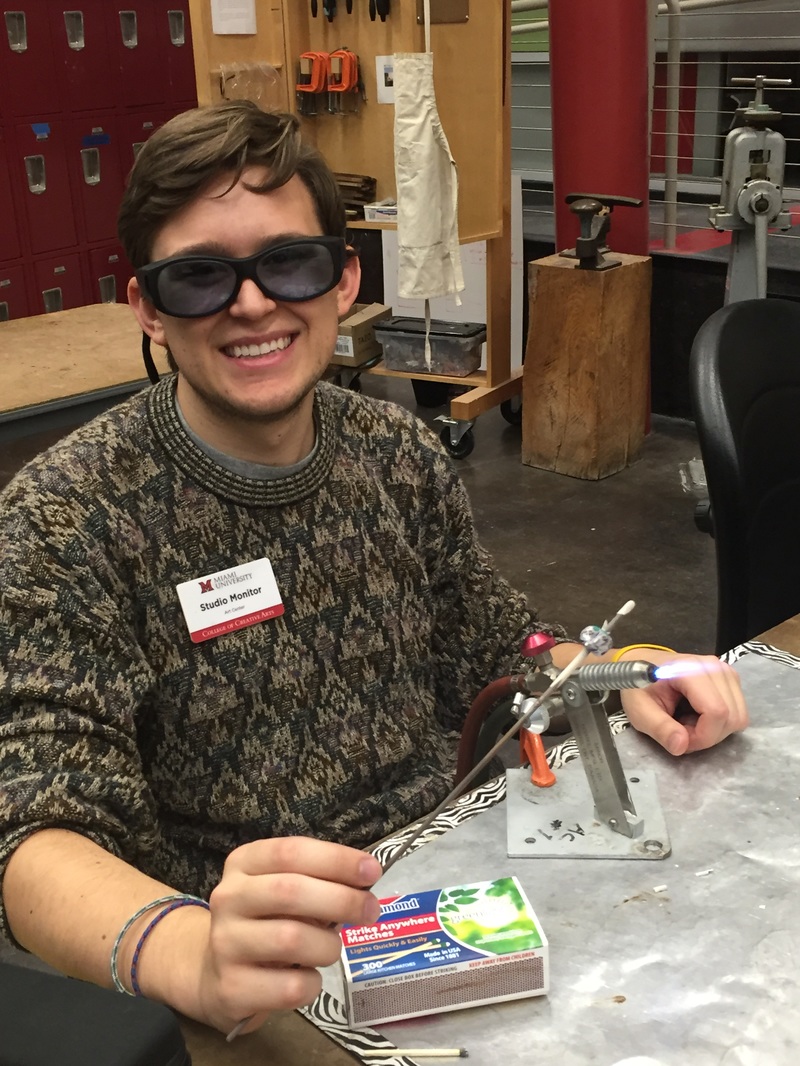
I taught some of my friends a skill that I learned through a class at Miami. The skill is called lampworking, and the class is Beginning Glass, ART 140. Lampworking is a type of glasswork where a torch or lamp is primarily used to melt the glass. Once in a molten state, the glass is formed by blowing and shaping with tools and hand movements. It is also known as flameworking or torchworking, as the modern practice no longer uses oil-fueled lamps. On December 9, I taught some of my friends how to create a bead from lampwork.
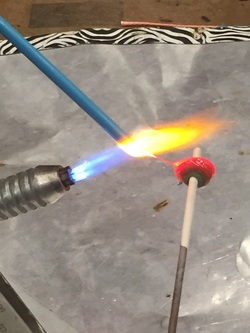
Lampworking is a new form of art to most people. It requires new supplies, new processes, and new creativity. Once ready to begin, the lampworker slowly introduces glass rod or tubing into the flame to prevent cracking from thermal shock. The glass is heated until molten, wound around a specially coated steel mandrel, forming the base bead. The coating is an anti-fluxing bead release agent that will allow the bead to be easily removed from the mandrel, either a clay based substance or Boron nitride. It can then be embellished or decorated using a variety of techniques and materials. All parts of the workpiece must be kept at similar temperatures lest they shatter. Once finished the piece must be annealed in an kiln to prevent cracking or shattering. What I observed was that some people were hesitant to work with the open flame and hot supplies. They were a little shy to stick the glass rod in the flame to melt it on the mandrel. Safety is the biggest key when teaching others how to lampwork. Working in an open flame, with supplies that can crack and fly all over, and utensils that will be hot, it is important to communicate how each item in the process should be handled. Young students most likely would not be eligible for lampworking. Mature, responsible older students would be eligible for lampworking. The best way to teach my friends how to work in the flame was through demonstration. It was not until they saw the demonstration until they truly understood the process. The cool part was that the process remains the same for each bead but the design, form, and coloration of each bead will be different. No two beads will ever be the same! I REALLY enjoyed working with glass and interacting through a new form of art with my friends. I was very hands-on, helping them mold or design the bead but also teaching them different techniques that would make their projects cooler or better in some way. |
|
